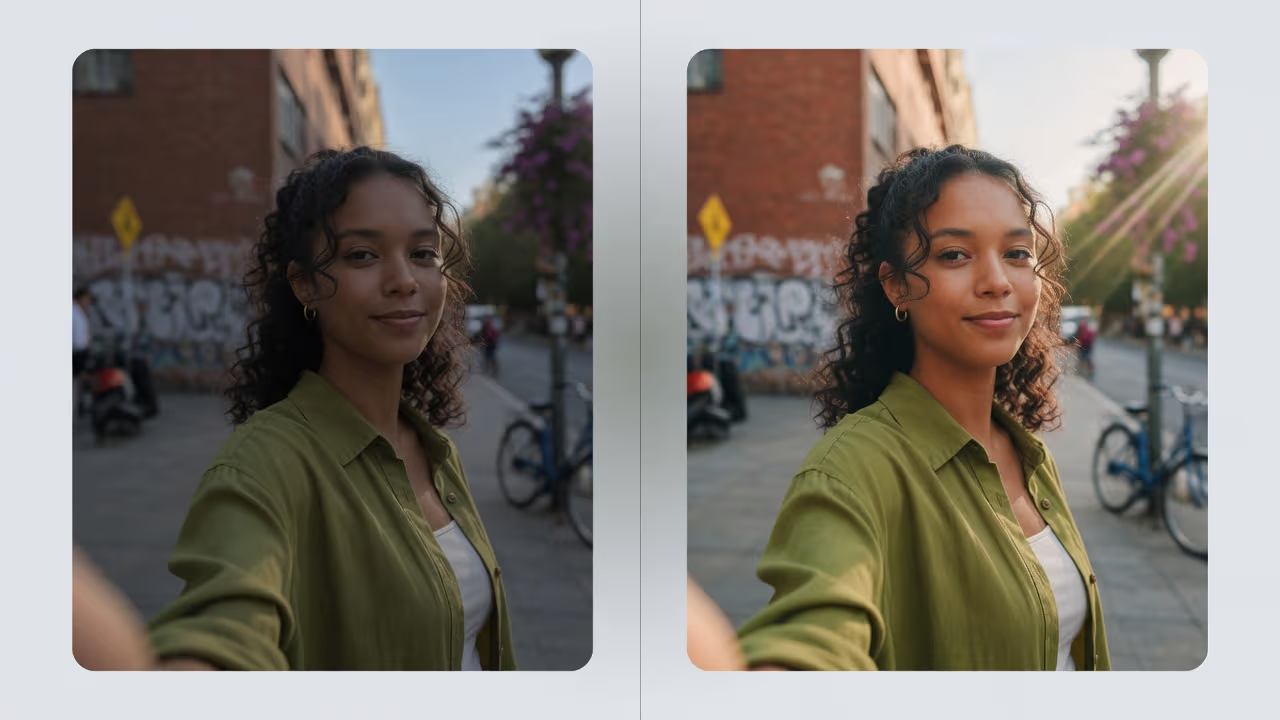
I still have that one family picnic shot from last summer. Someone moved. The light dipped. The whole frame looks like someone smeared vaseline on the lens. For years I assumed it was just… gone.
Then I ran it through an AI image enhancer free tool on a slow Tuesday night. Not perfect — nothing is — but suddenly you could read the lettering on my brother’s cap and see the grass properly. That little win is why this guide exists.
If you’re hunting for a free AI image enhancer that doesn’t force a login wall or stamp a logo across your photo, you’re in the right place. I’ll walk you through what these tools really do, when they help, when they make things worse, and the exact steps I use on PdfPixels.
Pro Tip
Quick answer: Open the free AI Image Enhancer on PdfPixels, drop in your JPG/PNG/WebP, pick a quality mode, and download. Most photos finish in a few seconds. No account. No watermark.
What an AI image enhancer actually does
People say “AI enhancer” like it’s magic polish. Under the hood it’s closer to a smart repair crew:
- Sharpening that tries to recover edge detail instead of just cranking a “sharpen” slider until skin looks like sandpaper
- Noise reduction for grainy night shots and old phone photos
- Tone and color balancing so shadows aren’t a muddy mess
- Sometimes a mild resolution lift so a small image isn’t pure mush when you enlarge it
It is *not* a time machine. If the original is a 200-pixel thumbnail of a moving car, no model will invent a crystal-clear face that was never captured. Think “rescue and polish,” not “CSI zoom.”
For a deeper resolution push after enhancing, pair it with the Upscale Image tool. For portraits where you want skin cleanup more than technical sharpness, Beautify Image is the better first click.
When free AI enhancers work best
I’ve wasted time “enhancing” photos that never had a chance. Save yourself the click if:
| Situation | Worth enhancing? | Why |
|---|---|---|
| Mild handshake blur | Yes | AI can restore edges well |
| Soft focus / wrong AF point | Often | Partial recovery |
| Low light grain | Yes | Denoise + contrast help a lot |
| Heavy motion blur (subject sprinting) | Rarely | Detail was never recorded |
| Heavy JPEG blockiness from WhatsApp | Sometimes | Improves a bit, won’t be print-perfect |
| 400px social crop | Only after upscale | Enhance first if large enough; else upscale then enhance |
Rule of thumb: if you can *almost* make out important details already, AI usually helps. If you can’t tell people apart at all, expectations need a reality check.
Step-by-step: enhance a blurry photo free online
1. Start with the best original you still have
Not the third re-save from Instagram. Grab the file from your camera roll, Google Photos original quality download, or cloud backup. Every re-compress loses information the enhancer never sees.
iPhone users stuck with HEIC on a Windows PC? Convert first with our HEIC to JPG converter — the enhancer accepts common web formats cleanly. More on that workflow in our HEIC guide.
2. Open the free AI image enhancer
Go to PdfPixels AI Image Enhancer. It’s the same tool labeled “Increase Image Quality” in the tools grid — same engine, plain English.
3. Upload and choose a mode
- Balanced — everyday photos, social posts, marketplace listings
- High — when you need a punchier result for a hero image or print-adjacent use
If the photo is a portrait and looks “tired” rather than blurry, try Beautify instead of (or after) a light enhance.
4. Check the result at 100% zoom
Look at:
- Eyes and text (signs, jersey numbers, product labels)
- Hair edges and fine fabric
- Flat areas (sky, walls) for weird “plastic” texture
If sky starts looking painted, back off to Balanced or enhance a crop of just the subject.
5. Download, then size it for the real destination
Enhanced files can get larger. Before you email them or stick them on a product page:
- Compress Image for web/email targets
- Resize Image for exact pixel dimensions
- Read Image DPI for print vs web if you’re sending something to a print shop
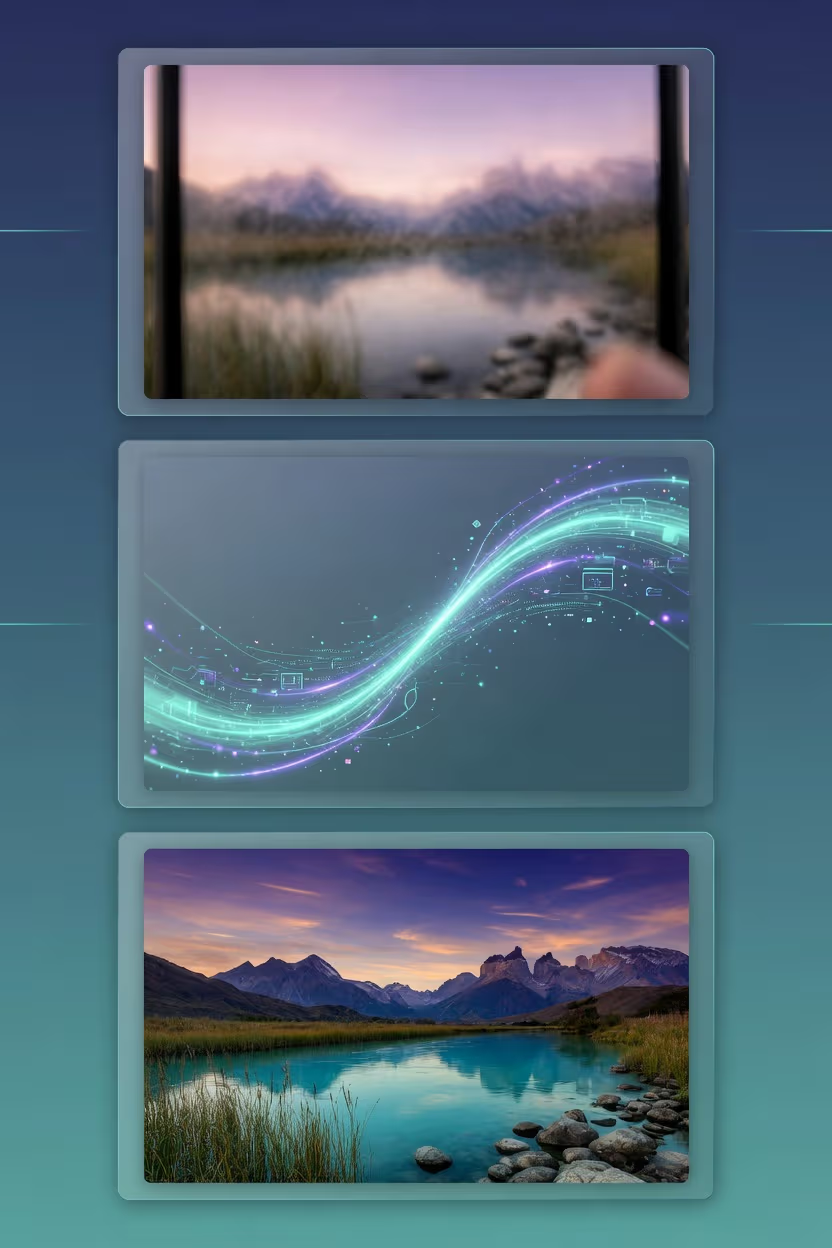
Pinterest-ready vertical guide showing a blurry photo transforming into a sharp enhanced image with AI
Free AI image enhancer options in 2026 (honest take)
I’ve rotated through the usual suspects for client work and personal photos. Here’s the unvarnished version.
PdfPixels AI Image Enhancer
- Free, no signup for normal use
- Runs as part of a full image toolkit (compress, upscale, background tools in one place)
- Good default for “fix this soft phone photo” jobs
- Link: increase image quality
Bias check: yes, this is our site. I still use it weekly for quick rescues before I bother opening a desktop editor.
Built-in phone tools
Google Photos “enhance” / auto adjustments and Apple’s Photos editing can salvage mild issues without leaving your phone. They’re convenient. They’re also limited when the image is soft *and* noisy. For those, a dedicated AI pass usually wins.
Desktop editors with AI features
Lightroom, Photoshop, Capture One — excellent when you already pay for them and need layered control. Overkill if you just want one free online fix and a download.
“Unblur” apps with huge promises
If an ad says it will reconstruct a license plate from a potato-quality screenshot, treat it like late-night infomercial energy. Physics still applies.
Real-world uses people actually care about
Marketplace and small business photos (US, UK, EU, India, and elsewhere)
Selling on eBay, Etsy, Shopify, or regional marketplaces? Soft product shots tank trust. Enhance lighting and edge clarity, then remove the background for a clean catalog look. We cover that pipeline in the AI background remover guide.
Travel and family archives
Dim museum interiors, rainy street shots, grandparents’ scanned prints — enhance gently, don’t overcook skin tones. Keep a copy of the original always.
Social and creator workflows
Thumbnails and posts benefit from clearer faces and better contrast. After enhancing, blur the background if you want that shallow-depth look without a fancy lens.
Privacy before you publish
Enhancing a photo doesn’t strip location data. If you’re posting travel shots or kids’ events, strip GPS with our EXIF/GPS removal guide and the metadata tools on site.
GEO notes: same problem, different devices
Blurry photos aren’t a US-only headache.
- North America & Europe — lots of iPhone HEIC + Android JPEG mixes in group chats; convert, then enhance
- India & Southeast Asia — heavy WhatsApp compression; start from the best original before chats re-save it
- Australia & UK — outdoor glare and overcast days both fool autofocus; Balanced mode first
Wherever you are, the free browser tool works the same: no app store country lock-in, no “business plan only” wall for a basic enhance.
Mistakes that make AI results look fake
- Enhancing a screenshot of a photo — you’re sharpening pixels of a screen, not the photo.
- Stacking enhance → upscale → enhance → beautify on max — plastic skin and crunchy edges. One strong pass beats four angry ones.
- Ignoring faces — if the face goes waxy, switch modes or enhance a crop of the background only.
- Skipping compression for web — a 12MB “enhanced” hero image slows pages and can hurt Core Web Vitals.
- Publishing with EXIF still attached — enhance, then clean metadata when privacy matters.
How this kind of article (and tool page) earns links
If you’re a writer or site owner reading this for SEO craft: the linkable assets here are the free tool, the before/after visual, the decision table, and the honest limits section. Those are what other blogs and forums cite — not keyword stuffing.
Useful external references when you write about imaging (link out, don’t copy):
- Image resolution (Wikipedia) — plain language on pixels vs print
- Google Photos help — original quality vs compressed backups
- Web.dev image optimization — why file size still matters after you enhance
Cite primary docs when you claim platform limits. Readers and search engines both notice.
Quick workflow cheat sheet
- Original file (not a chat re-export)
- Convert HEIC if needed → HEIC to JPG
- Enhance → AI Image Enhancer free
- Optional upscale → Upscale
- Optional background work → Remove BG or Blur BG
- Compress / resize for destination → Compress · Resize
- Strip location data if sharing publicly
Final take
A free AI image enhancer won’t rewrite history, but it will save a surprising number of “almost good” shots — the ones that sat in your camera roll because they were a bit soft or a bit dark. Start with PdfPixels’ AI Image Enhancer, zoom in before you celebrate, and keep the original parked next to the new file.
If the photo is soft *and* tiny, enhance then upscale. If it’s a portrait that needs polish more than technical recovery, open Beautify. And if the background is the real problem, jump to the background remover guide next.
Topics
FAQFrequently Asked Questions
What is the best free AI image enhancer in 2026?
For most people, a no-signup online tool like PdfPixels AI Image Enhancer is the best free option: upload a photo, enhance quality, download without a watermark. Phone built-in tools work for mild fixes; desktop software is better if you already pay for a full editor.
Can AI really fix blurry photos for free?
AI can improve mild blur, soft focus, and noise by recovering edges and cleaning grain. It cannot fully reconstruct a heavily motion-blurred or extremely low-resolution image. Always start from the highest-quality original file you still have.
Is a free online AI photo enhancer safe?
Use reputable tools over HTTPS that process files for the task and don’t require odd permissions. Prefer services that don’t keep your photos after processing. Avoid uploading sensitive IDs or private documents to random apps you haven’t checked.
Should I enhance or upscale first?
If the image is already a decent size but soft or noisy, enhance first. If it’s very small, upscale to a usable resolution, then run a light enhance. Avoid looping enhance and upscale many times — quality usually drops into plastic-looking artifacts.
Does AI image enhancement work on iPhone HEIC photos?
Yes, after converting HEIC to JPG or PNG. Use a free HEIC to JPG converter, then run the AI image enhancer. Keeping originals in HEIC on the phone is fine; convert when you need wider compatibility or web uploads.
Why does my enhanced photo look fake or plastic?
Over-enhancement smooths texture and oversharpens edges. Switch to a milder mode, enhance once, and zoom to 100% on faces and flat areas like sky. Compress for web after you’re happy with the look.
Can I use a free AI enhancer for product photos and marketplaces?
Yes. Enhance clarity and exposure, then remove or replace the background if the listing needs a clean catalog look. Compress the final image so product pages load quickly on mobile networks worldwide.

